Use the Check History report to create a report by Employee, Period, Department or Check Date.
| Access |
| Grant permission to User Profiles in Access User Profiles > select a User Profile > Security > Payroll > Menu Security > Payroll Reports > Check History. |
Create Your Report
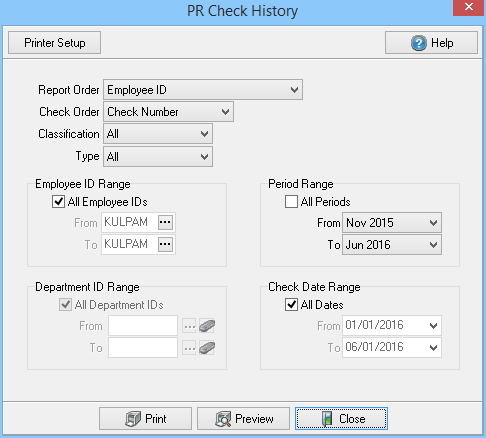
Use the drop down list to select a Report Order and choose
- Employee ID
- Employee Name
- Account
- Department / Employee ID
- Department / Employee Name
Check Order- Add a sort order of Check Number or Check Date.
Choose the Classification of Employee for the report
- All
- Hourly
- Salary
Select an Employment Type
|
|
|
|
|
|
|
|
|
Create an Employee ID Range or focus on one Employee by entering the ID in both the From and To field.
- From- Enter a starting Employee ID.
- To- Enter an ending Employee ID.
In the Period Range section, select All Periods, create a range of Periods or focus on one Period by selecting the Period in both the From and To field.
- From- Select a starting Period.
- To- Select an ending Period.
Use the Department ID Range to select All Departments, create a range of Department IDs or focus on one Department by entering the ID in both the From and To field.
- From- Enter a starting Department ID or select the search button.
- To- Enter an ending Department ID or select the search button.
In Check Date Range, select All Dates, create a Date range or focus on one Day by entering the Date in both the From and To field.
- From- Enter a starting Date.
- To- Enter an ending Date.
Select Preview to view the report onscreen.
Select Print to send the report directly to the default printer.
View a sample report here.