Enter Unpaid for Items
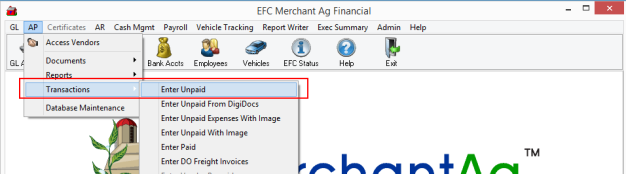
In Merchant Ag FIN, navigate to AP > Transactions > Enter Unpaid which can be used for Invoice entry for items as seen below. Learn more about using Enter Unpaid monthly expenses here.
Follow the steps for entering an Accounts Payable invoice for items ordered using a Purchase Order.
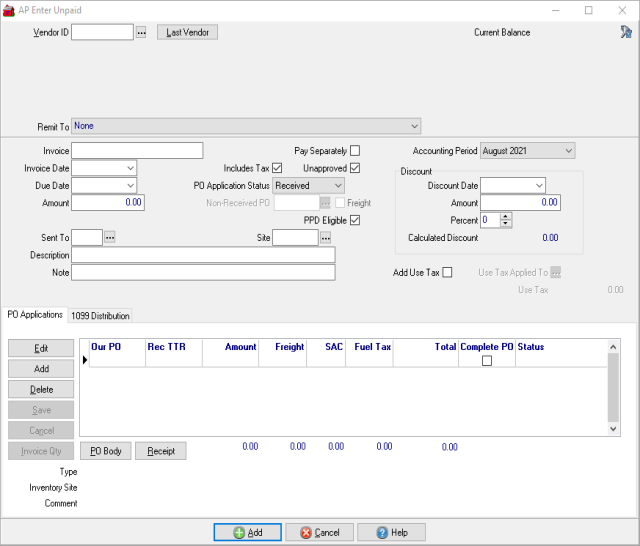
1. Enter the Vendor ID or search using  . Last Vendor will retrieve the last Vendor used and is useful when entering multiple invoices for the same Vendor.
2. Use the Remit To drop down menu to select any 3rd Party Payee available to the Vendor for payment of Invoices. If no 3rd Party Payees are associated with the account, the Remit To selection with be "None". Learn more about setting a 3rd Party Payee in a Vendor account here.
3. Enter the Invoice number for the Vendor.
4. Enter the Invoice Date or select from the drop down calendar.
5. The Due Date populates automatically based on the Invoice Date and the Due Day Calculation information from the Vendor account. Select an alternate Due Date if necessary by clicking into the field.
6. The Amount of the Invoice will populate automatically if using the PO Applications section. Enter an Amount if not using the PO Application section.
7. If using the PO Application section, use the drop down menu available in PO Application Status to select the Receive status of Purchase Orders.
- Received- Selected by default, indicates Items on the Purchase Order have been received.
- Non-Received- Purchase Order has been placed, no Items have been received but the Vendor has been received. This option can be selected if a Vendor requires payment prior to shipping Items.
8. Any available Discount will populate automatically if provided in the Discount Calculation section on the AP Vendor account. Use this section to enter the Discount if the discount offered on the Invoice differs from the account defaults.
9. The Description field will print on the Vendor check and allows for up to 40 alpha-numeric characters.
Note Enter a note in this 40 character alpha-numeric field. The Note field does not print on the Vendor check.
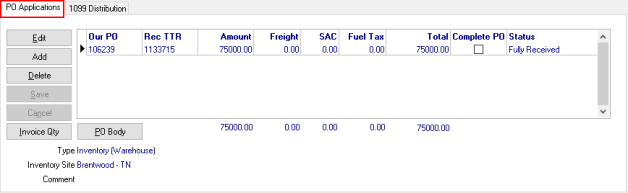
10. Use the PO Applications section to select and add Inventory and Non-Inventory Purchase Orders to Vendor Invoices. After selecting a PO, click the Save button on the left of the grid. Edit any applicable Amounts and Freight once the PO is listed in the PO Application grid.
Once all POs have been selected, click Add at the bottom of the window.  . See AP Vendors > Transactions for all invoices entered.
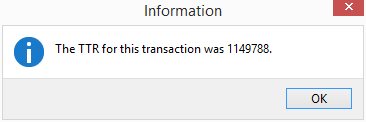
11. GL Distribution- In most cases, selecting Add will post the invoice and debit the Accrued Accounts Payable account and Credit the Accounts Payable account and assign a TTR for the transaction. If presented with a GL Distribution window, confirm the accounts selected and click Post.